Travis is a cloud based continuous integration (ci) service, that can be used to automate tests and builds for software projects hosted in GitHub. The free version works well for public, open-source projects. For private projects, which most commercial applications happen to be, Travis provides paid plans. First 100 builds are for free, so getting started does not require an investment.
What is great from software security point of view, is that Travis also integrates well with Veracode. Read on to find out how.
Getting started
To get started with Travis, head on to https://travis-ci.com and either Sign in or Sign up with your GitHub account.
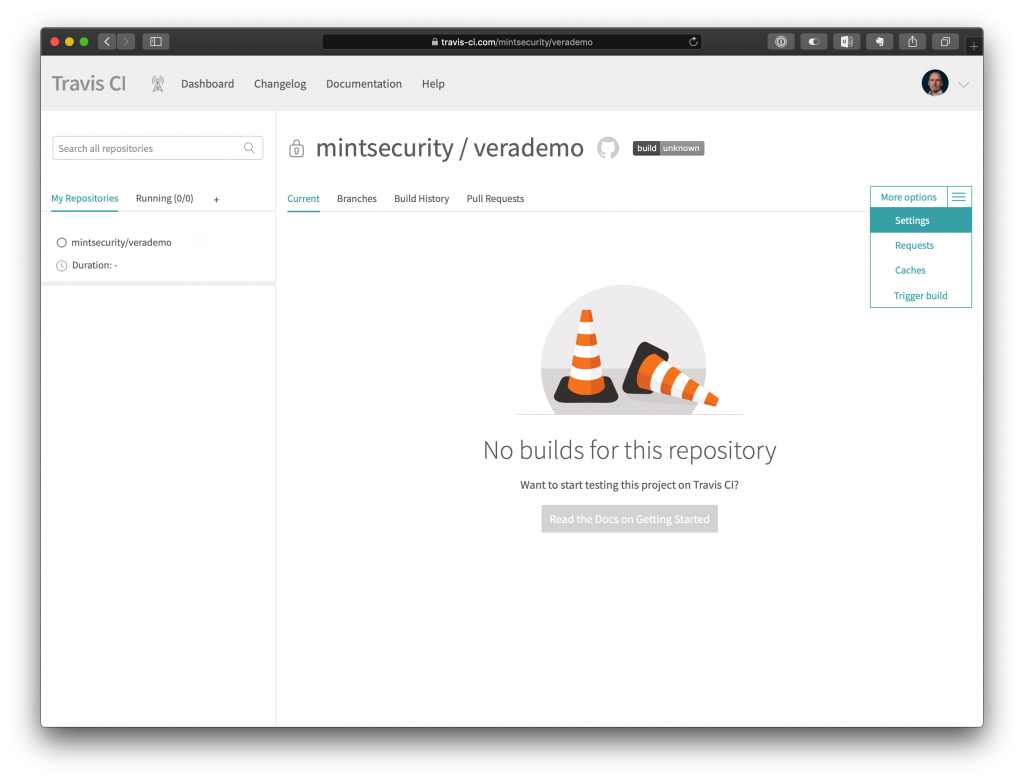
After signing in, all of your GitHub repositories are listed on the left side of the page. To edit settings for a specific repository, click the name of the repository in the list and select More Options -> Settings in the opening page.
Repository settings in Travis
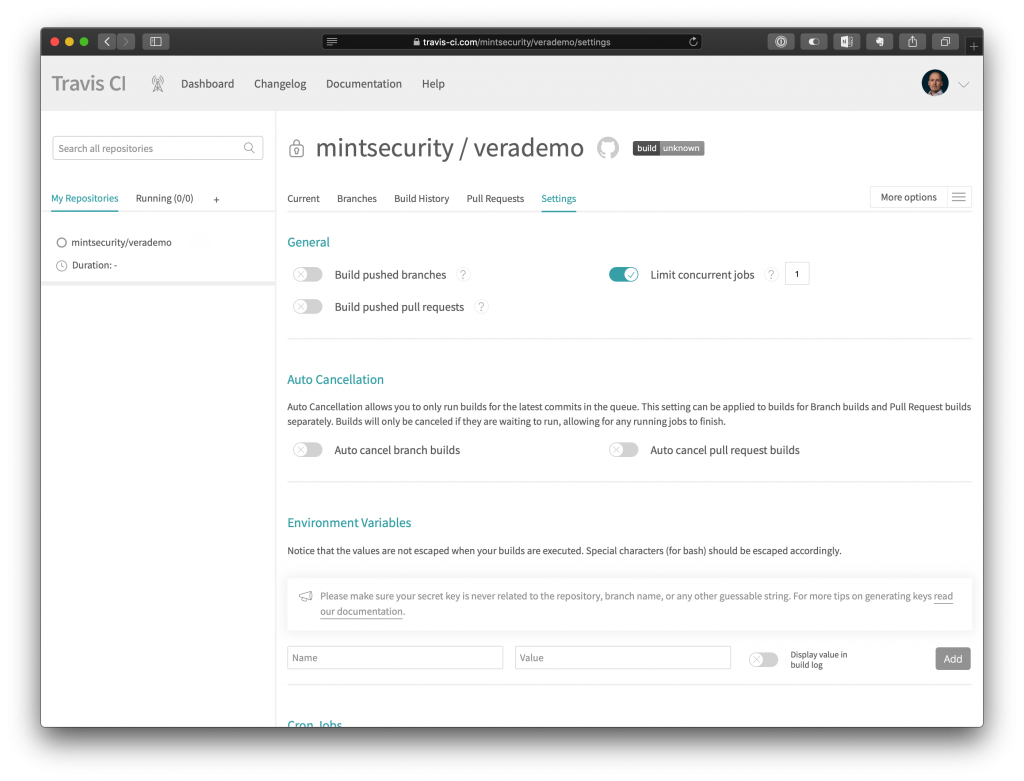
By default, the settings Build pushed branches and Build pushed pull requests are enabled. In production environment when Travis is following master branch, having the first option enabled will allow for automated policy scans to occur whenever changes are pushed to master.
For this exercise, the option has been disabled.
Option Limit concurrent jobs is by default disabled. As we are automating a policy scan with Veracode, we do not want to run multiple builds simultaneously. Therefore, we enable this option and set the value to 1.
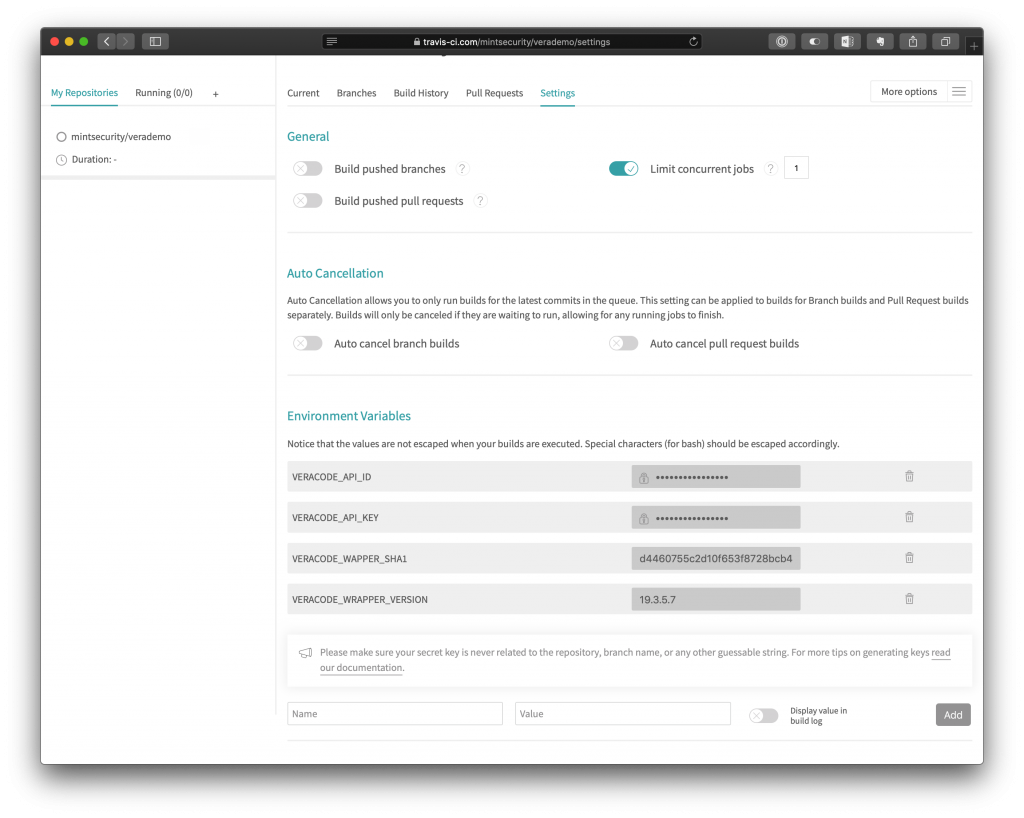
Travis will read the build instructions from a .travis.yml file. We can control certain elements of the file with Environment Variables. The needed variables will vary from project to project, but for this task, we will need the following four variables.
The VERACODE_API_ID and VERACODE_API_KEY are the API credentials that Travis will be using when contacting Veracode API.
VERACODE_WRAPPER_VERSION is the Veracode API Wrapper version to use and VERACODE_WRAPPER_SHA1 it’s confirmed SHA1 checksum.
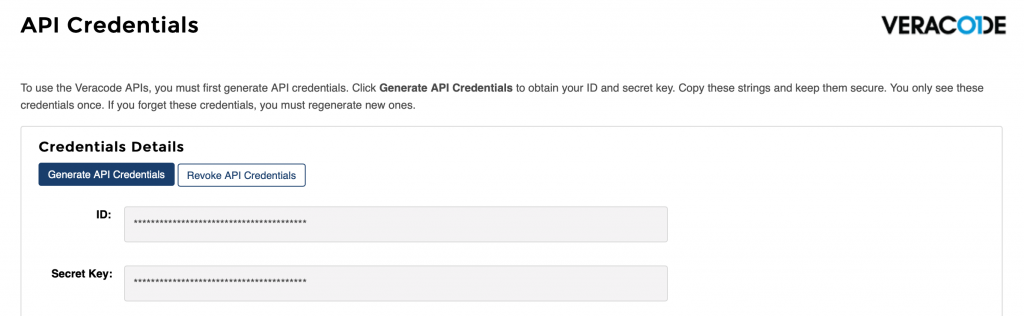
To get Veracode API Credentials, sign in to Veracode Analysis Center, click on your account information at the top of the page and select API Credentials. The credentials are only visible after creation, so be sure to write them down in a secure place, like 1Password.
It is good practice to hide the API_ID and API_KEY so they do not show up in the build logs.
Configuring Travis builds
Finalizing the configuration for Veracode integration is simple. Travis can be instructed by placing a .travis.yml file in the root of the repository. With this file, we configure for example additional, dynamic environment variables, commands to be executed before the build etc. Travis documentation will provide detailed examples on what can be configured.
In the before_install section we first instruct Travis to fetch Veracode Wrapper Java application from a Maven repository and verify it’s SHA1 checksum. The checksum and the version were defined earlier in the Travis repository configuration with environment variables.
After this, we execute the commands in the script -section, which first builds the maven project and then uses the Veracode Wrapper Java app to push the created application package to Veracode for scanning.
After committing and pushing .travis.yml to the GitHub repository, Travis is ready to perform.
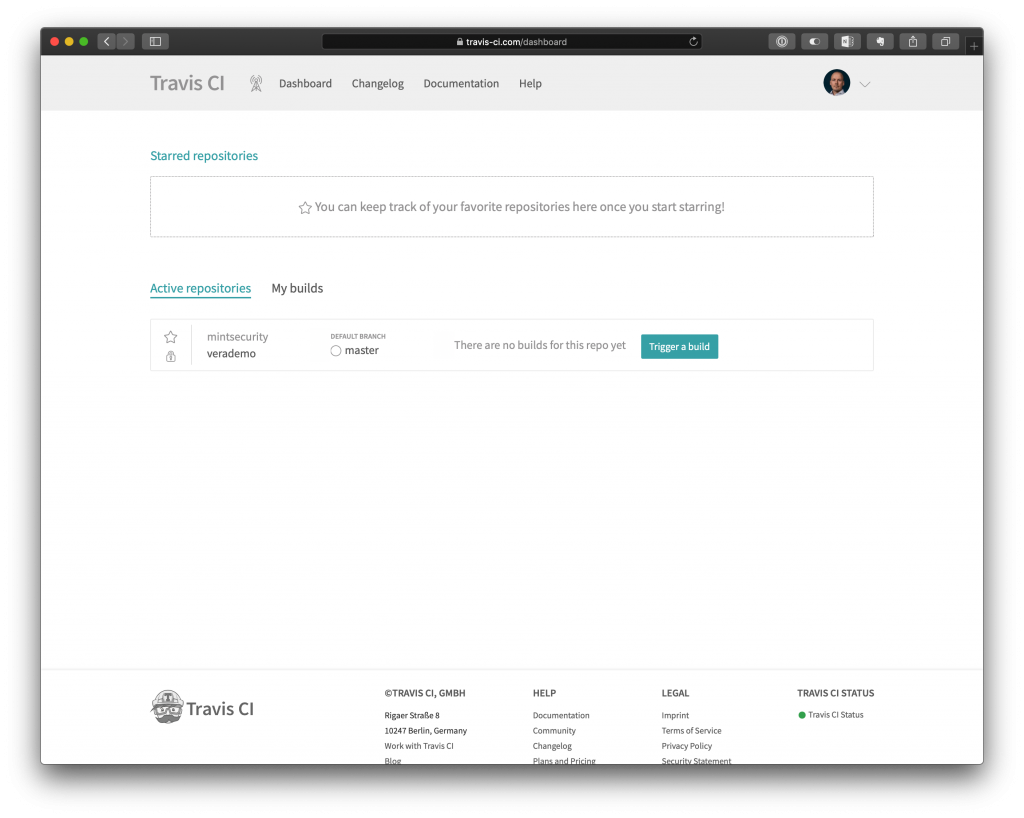
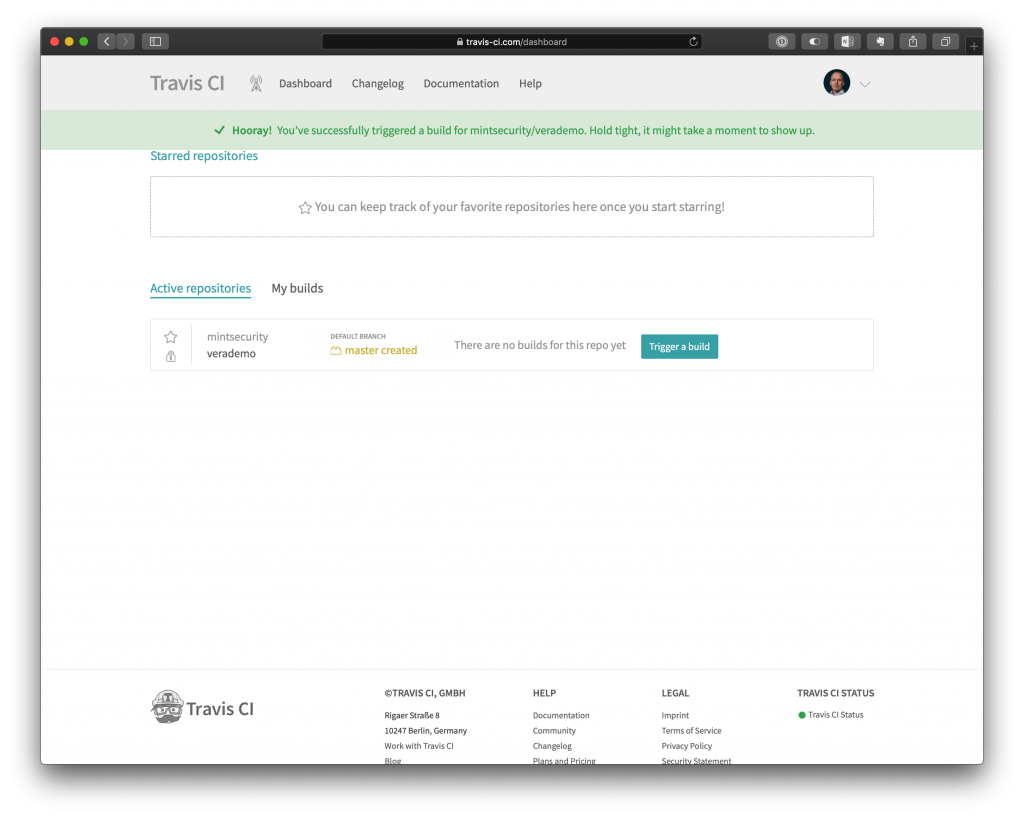
Triggering a build
If the configuration setting Build pushed branches was enabled, Travis would have already started the first build. As we had set it to false, we need to trigger a build manually. This can be done by opening Travis front page and selecting Trigger a build.
Travis will now start a new build as instructed in the .travis.yml configuration file. Details of the build process can be seen by clicking the repository name.
1. Build initializing
2. Build in progress
3. Sending to Veracode
4. Build ready
As we were scanning an application intentionally full of flaws, the build will eventually fail as the Veracode scan will not pass. In production, we would of course aim for a success, but if there would be flaws still in this stage of the SDLC, this would be the desired end result in production as well.
Wrap up
Veracode integrates with your existing software development projects with a few simple steps. The similar functionality is available to other CI environments as well, like Jenkins, with the exception of things being even more simplified with native plugin availability.